(Pico+Uno Picouno)=PicUno
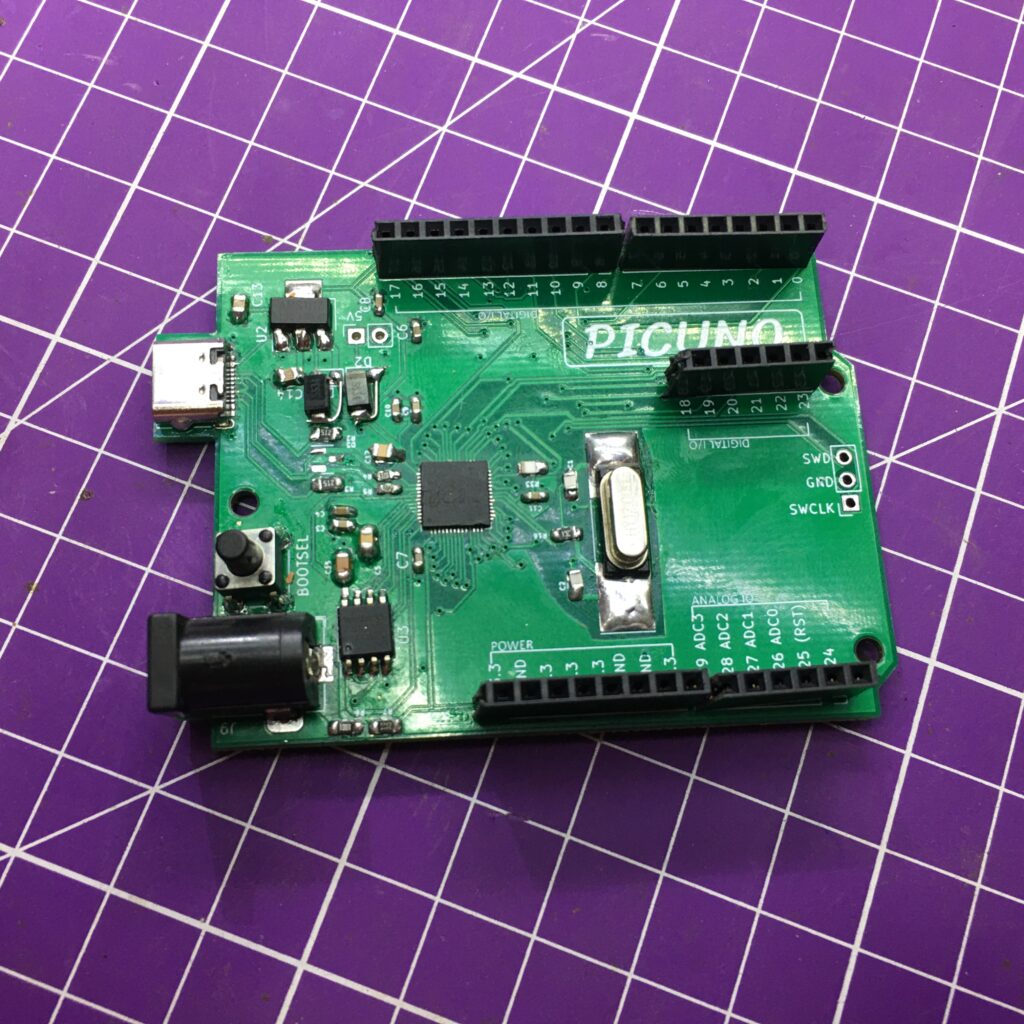
This project has been in making for over 6 months. An Rp2040 board in an UNO form factor.
NOTE: Future Updates will be available at the Official brand website atrivatech.com (Click the link to visit) and atrivatech.com/picuno
The first version was the voltameter+Rp2040 mini board with which I experimented with the basic build of the project.
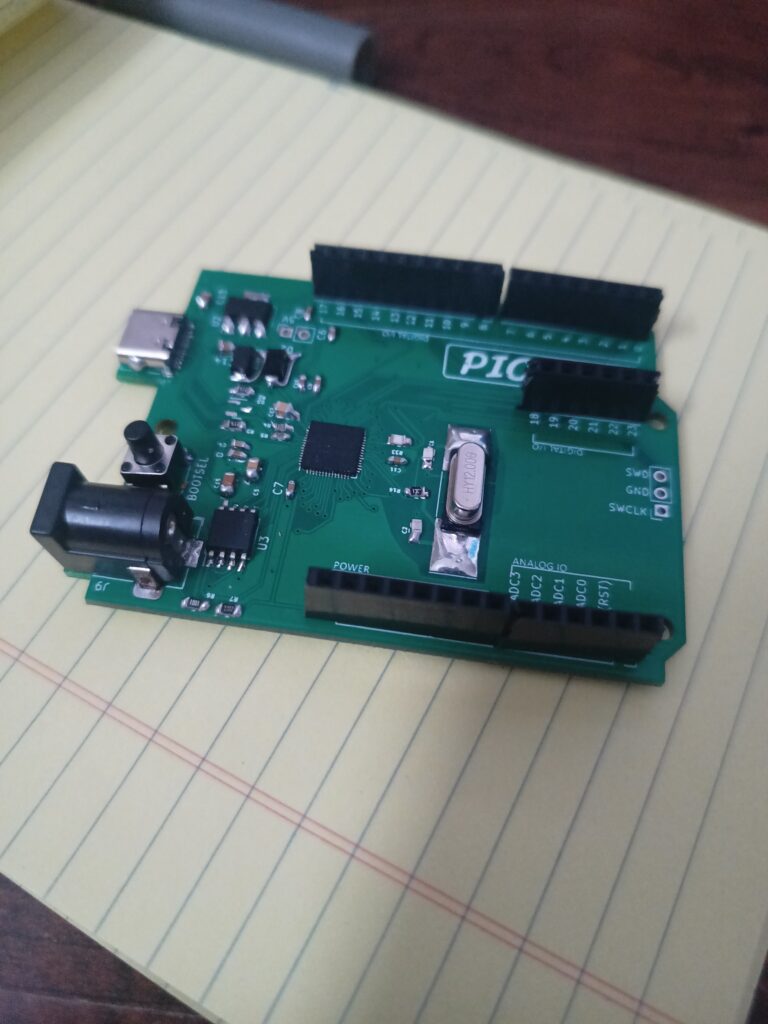
V1.0 Is the actual board in the UNO form-factor. Comes with 16Mb of storage and USB C capabilities with the DC jack unlike competitors so that the board can act as a drop-in replacement for an UNO in an industrial/education environment.
Compatible with MicroPython, Circuit Python and Arduino IDE (C/C+) as the original Pico boards.
In V1, the header alignment for the analog pins was off by 1 pin leading to an issue when using shields. This has now been fixed in V2 which shall soon be prototyped.
One more change in the structure would be the mounting holes. out of the 4 present in the actual UNO, this only has 3. 2 of which are in the usual position, and one is in the center in between the USB C jack and power jack for ease.
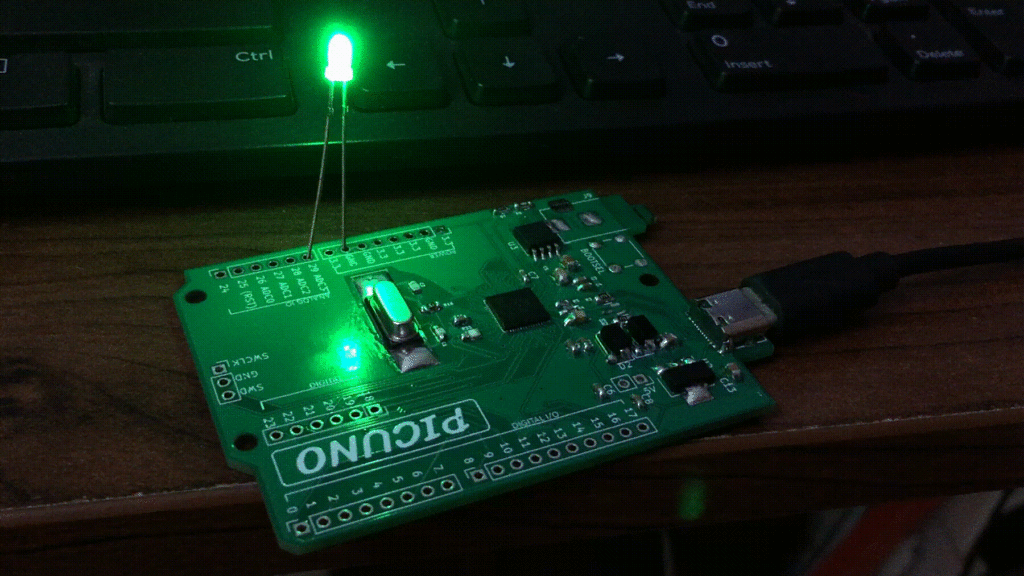
V1 also uses a tactile switch for easy assembly, V2 will use a much neater SMD type metal cap switch which will look a lot better for the design.
USB C 2.0 speeds are supported as of now and will not change in the updated version.
V1 also had a few flaws. The Ground plane under the chip was not connected and this was noticed only after our 45-board order to prototype came to our lab from the fab.
The keen reader might say that Adafruit Metro Rp2040, Rp2040 UNO and a few more homebrew projects exist. And yes, I agree that they do. But some pros when we look at my design is the fact that this will come down to under 5USD landed while the Adafruit metro costs roughly 14USD which is a very steep price increase when we compare the costs with the Pico itself which only costs 4USD. Also, the Adafruit board comes with a lot of features which are useful if one is willing to have a lot of sensors on the MCU itself. But in a situation where automation is considered where an SD Card mount may have to be present near the enclosure, our board provides that flexibility. Also, unlike the other boards, all GPIOs including the reset pins are mapped out to headers, that way all GPIOs can be used effectively unlike the 13+7 that the original Arduino form-factor supports.
I am sure that in mass manufacture of maybe 200 boards, the cost could be a lot lower, the final cost of my board will probably be a few dollars more considering various factors including packaging, part shortages, profit margins and more.
The DC jack allows for any power supply to be used since an LDO is placed for voltage regulation. V2 will possibly rely on a better LDO than the AMS1117 so that both voltage and current requirements will be met.
We are considering crowdfunding and putting the project into production so that we can get the board out to the masses as an effective arduino replacement which is only a tiny bit pricier than the pico and a lot cheaper than the UNO itself.
As always, the project is fully open source and will also be submitted to oshwa for the official OSHWA registration proving my commitment to open source. Files will also be available on Github for those who wish to replicate.
Debugging of both versions has been something that I have done openly with the help of passionate engineers and hobbyists on the EEVBlog forum, Discord and twitter (Jeremy Cook, Shwan Hymel, voltsandjolts (eevblog forum), baldurn, SiliconWizard (EEVBlog Forum), codeitdoit (GitHUB) to name a few). Keen readers of the previous article on the custom board might have observed the same. I am truly honored and grateful for all of the help provided by the community to help this project reach this far.
Resources:
- RP2040 development (ESCcrasci): Building a board with the RP2040 – ESC crasci
- PicUno Github Repo: http://github.com/atulravi/picuno
- EEVBlog forum pages: Issue building custom board with RP2040. (Board partially recognised by Windows) – Page 1 (eevblog.com) ; Custom Rp2040 Board Device Descriptor Failed Error on Windows. – Page 1 (eevblog.com)
- X and threads posts on the V0.1 (Prototype): Atul Ravi on X: “Working on my own @Raspberry_Pi RP2040 based MCU board ; @esccrasciyt • Over the past few months, I have been building my own board with the help of @raspberrypi Rp2040 … • Threads
V1 is now OSHWA certified:

UPDATE: A lot of discussion regarding feature addons, design changes and fabrication are going on at the eevblog forum and can be read at: Another Arduino Clone (Powered by RP2040)-Opinion/Suggestions Needed – Page 1 (eevblog.com) . Feel free to share your thoughts!
UPDATE 2: Also, A github discussions page is available for those who wish to use that to interact and it can be accessed here: Welcome to PicUNO (Pico + UNO) Discussions! · atulravi/picuno · Discussion #1 (github.com)
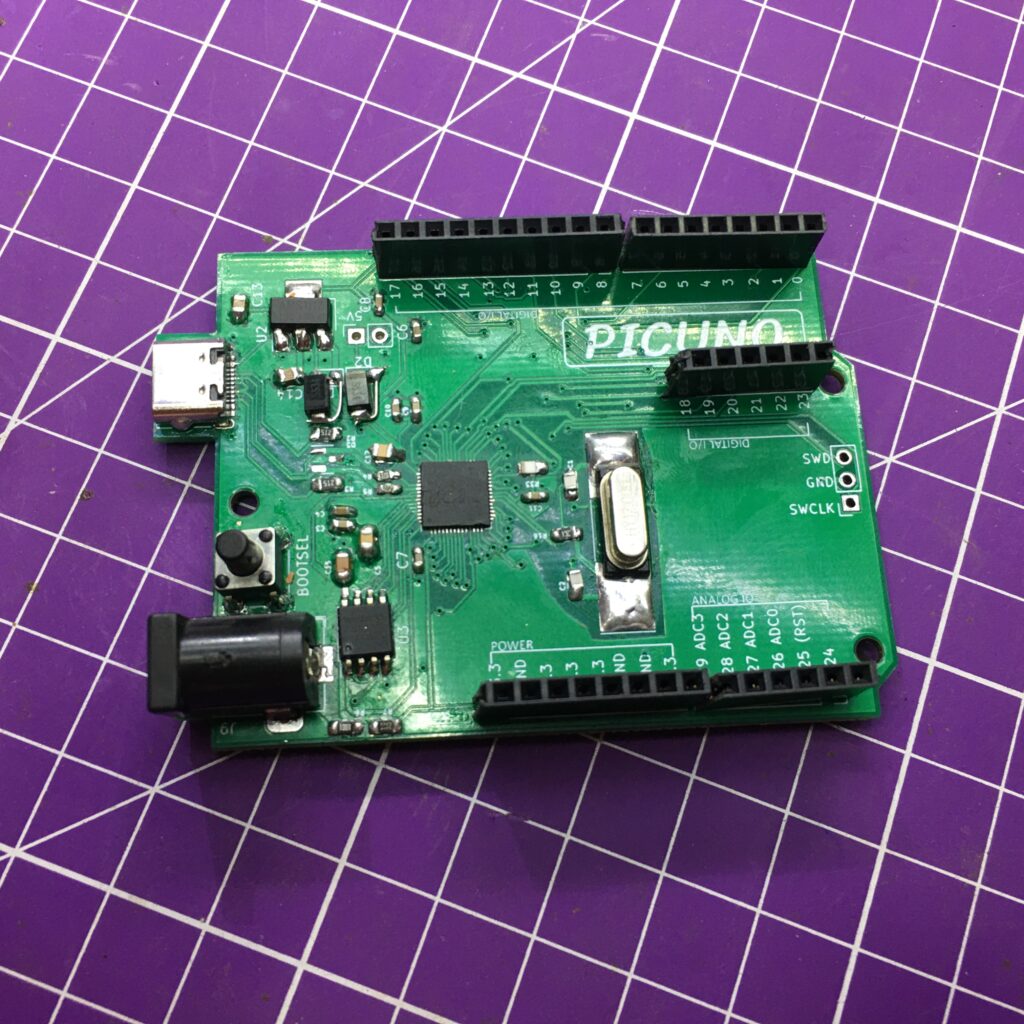
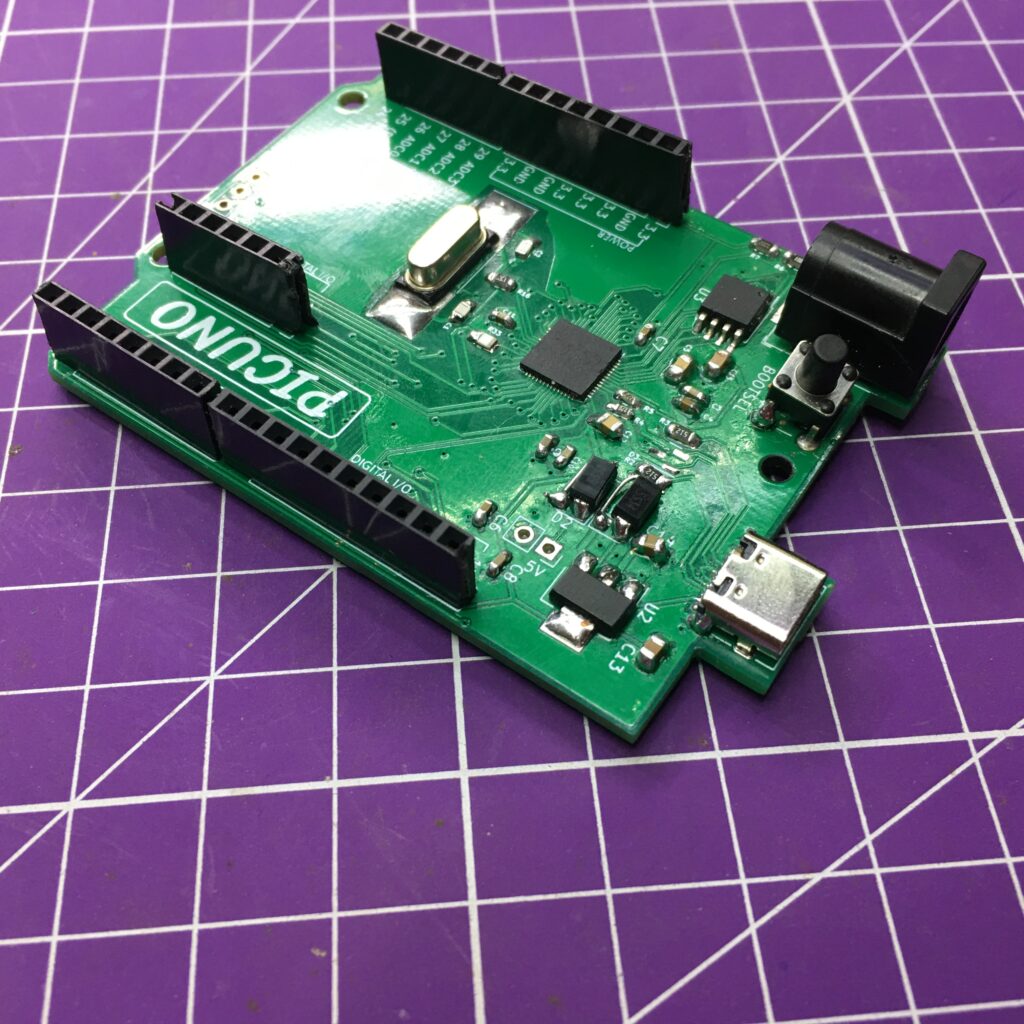
Photo gallery: (V1)
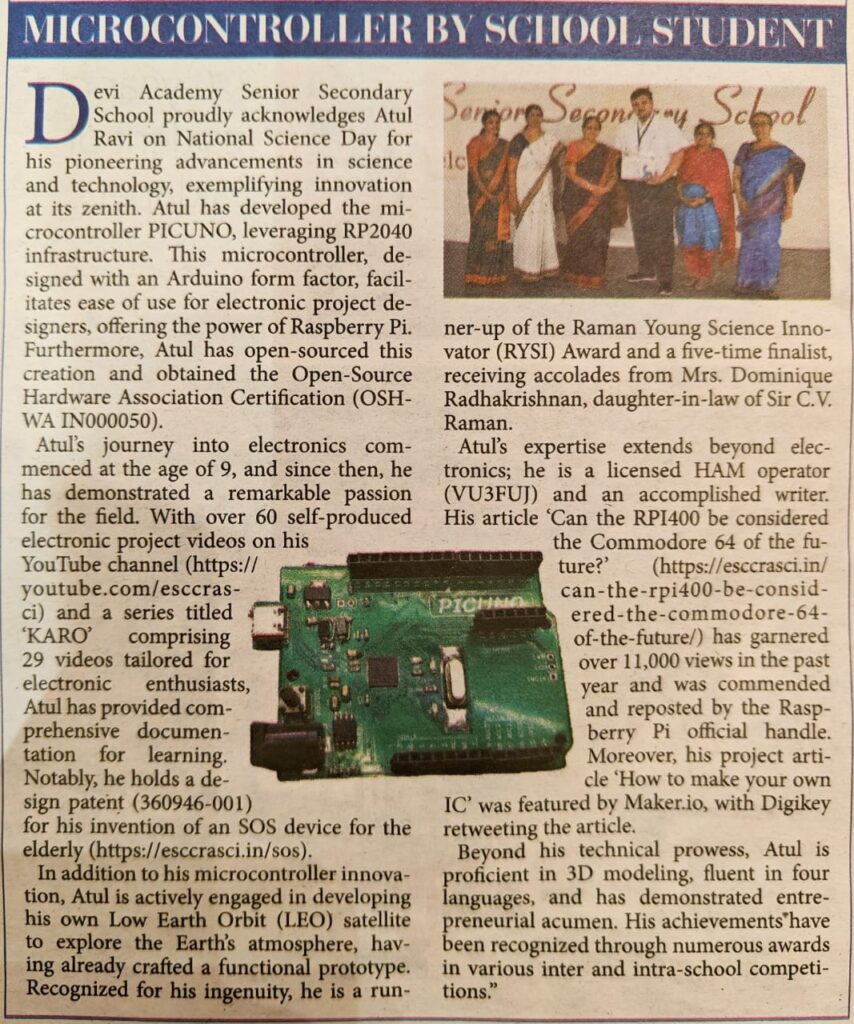
In The Press:
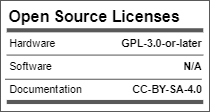
Licenses:


Leave a Reply