This is the very first electronics project that I made and uploaded to youtube.
This project is a Remote Controller based motor driver.
The video has the products needed.
The items needed to accomplish the task are:
- RC receiver
- RC transmitter
- Motor
Or if you want to go ultra cheap you can get a cheap car and salvage the parts from it
Now for the instructions:
- Take the receiver and solder 2 wires to the motor 1 / motor 2 socket
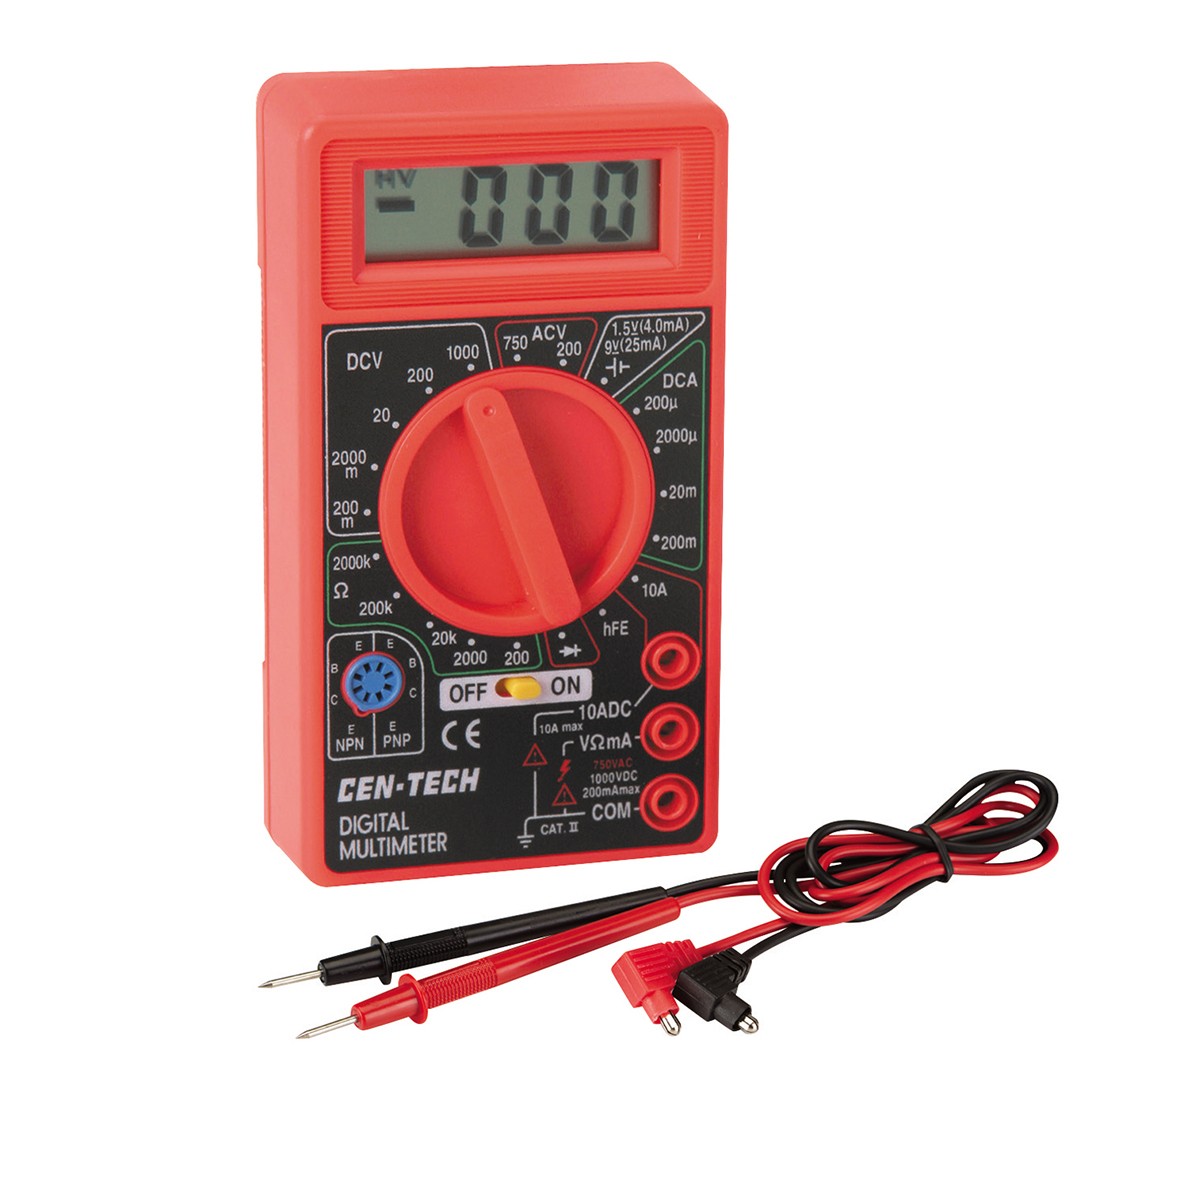
- Use a multi-meter and a battery to find the positive and negative.
- SOCIALL tip:
- for seeing which connection is positive or negative, try placing the probes on the wire. If you don’t see a – sign it means that the polarity is correct else it is not correct.
- See Image:
- Now that you know which one is positive and negative, connect your motor accordingly.
- Give it 3 volts with the help of a dual 1.5 volt battery holder. (pay attention to the polarity).
VOILA!
Your motor circuit is ready.Pressing the button will run the motor.
Troubleshooting!
- if your motor does not run try checking the polarity of the battery and the motor.
- Check if your transmitter has batteries installed.
- Check if your board is working
- Checking if your transmitter works with something else.
- Check that there are no short circuits.
- Clean the flux on the board.
if your motor still does not work you might need to replace the parts.
Thank you For Reading!
Leave a Reply