Now that we finished one part of the cube solver we move on to the second part where 75% of the project gets over. All of the popsicles together will form 6 pieces like tahis.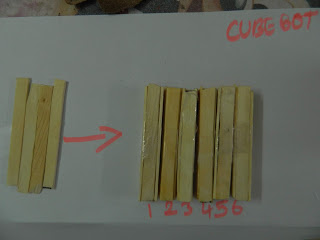
Then when we fit all of them together the cube looked like this.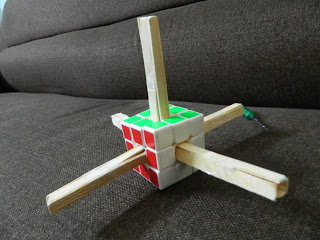
Once that was over, we sanded all of the pieces.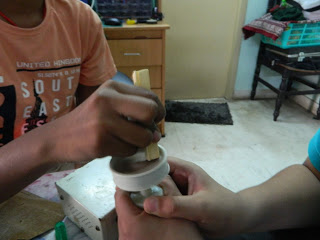
Quick tip for the people who feel/ and really are “broke”and/or cannot afford or have a sander:
- Take a simple 10000RPM geared motor.
- Get a fitting wheel for the motor.
- Then get a 10000 grit sand paper piece and then paste it on the wheel with super glue.
- Your simple electrical sander is ready.
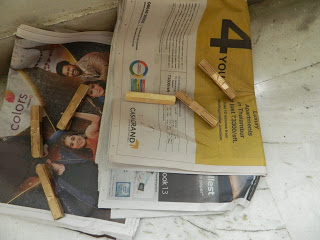
So once we finished sanding we painted the product so that it remained beautiful.
Now we tried fitting the pieces to the cube with the center pieces removed. We also tried solving it to make sure that the cube moved fluidly.
(Special thanks to Kesshav A.V. for collaborating.)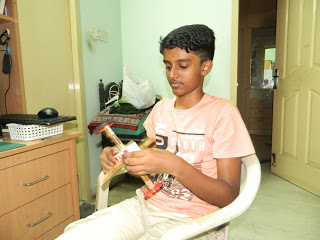
Then we made a simple output design so that we had a simple design of the output.
Then we attached wheels to the rods . Once we did that we attached the motors. Then we added geared motor wheels. Then we attached all of the motors to the wheels. Then we cut 3 pieces of cardboard with the following dimensions
39cm*1.5cm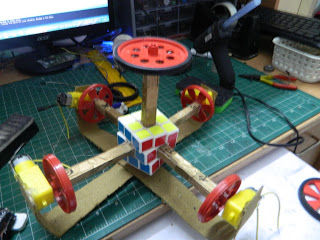
In the next blog the circuit an the finishing will be covered along with the circuit diagram.
We are happy to say that pt3 will be the end of the making of the cube bot. Thank you for reading. Please keep checking this blog so that you know when pt3 is added.
Leave a Reply